1 Delicious No-Bake Greek Yogurt Fruit Tart
The short answer: Enjoy a delightful no-bake Greek yogurt fruit tart, perfect for dessert lovers looking for a refreshing and easy treat. This recipe highlights fresh produce and requires no baking, making it both accessible and delicious.
This roundup tackles the challenge of creating a stunning dessert without any baking involved, making it accessible to everyone. Whether you’re an experienced baker or a novice in the kitchen, this no-bake Greek yogurt fruit tart is ideal for anyone craving a sweet yet healthy dessert.
You’ll find a beautiful recipe that combines a nutty crust with a creamy filling and topped with vibrant fruits. This tart is perfect for any occasion, allowing you to indulge guilt-free while enjoying the freshness of seasonal fruits.
Let’s dive into the lineup…
Greek Yogurt Fruit Tart
Enjoy these vibrant and refreshing no-bake fruit tart recipes that are perfect for every occasion.
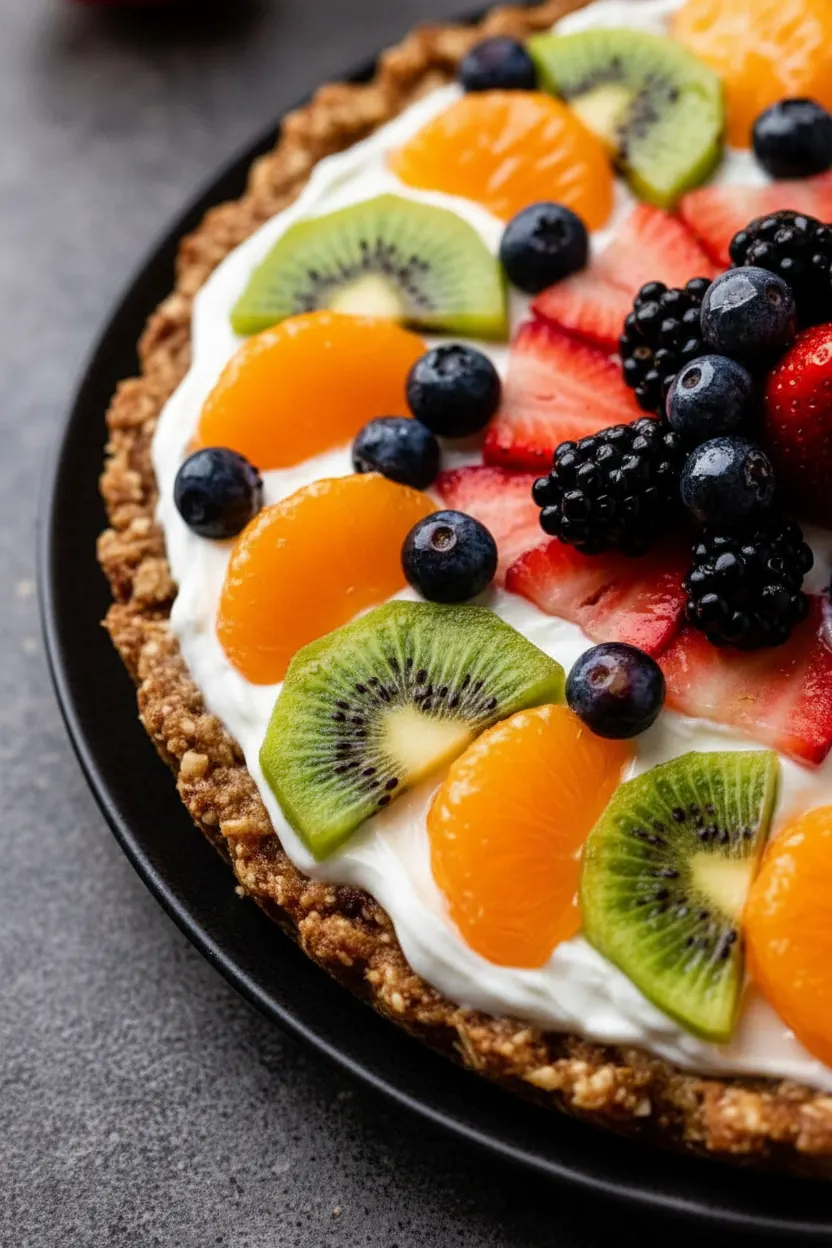
1. No-Bake Greek Yogurt Fruit Tart

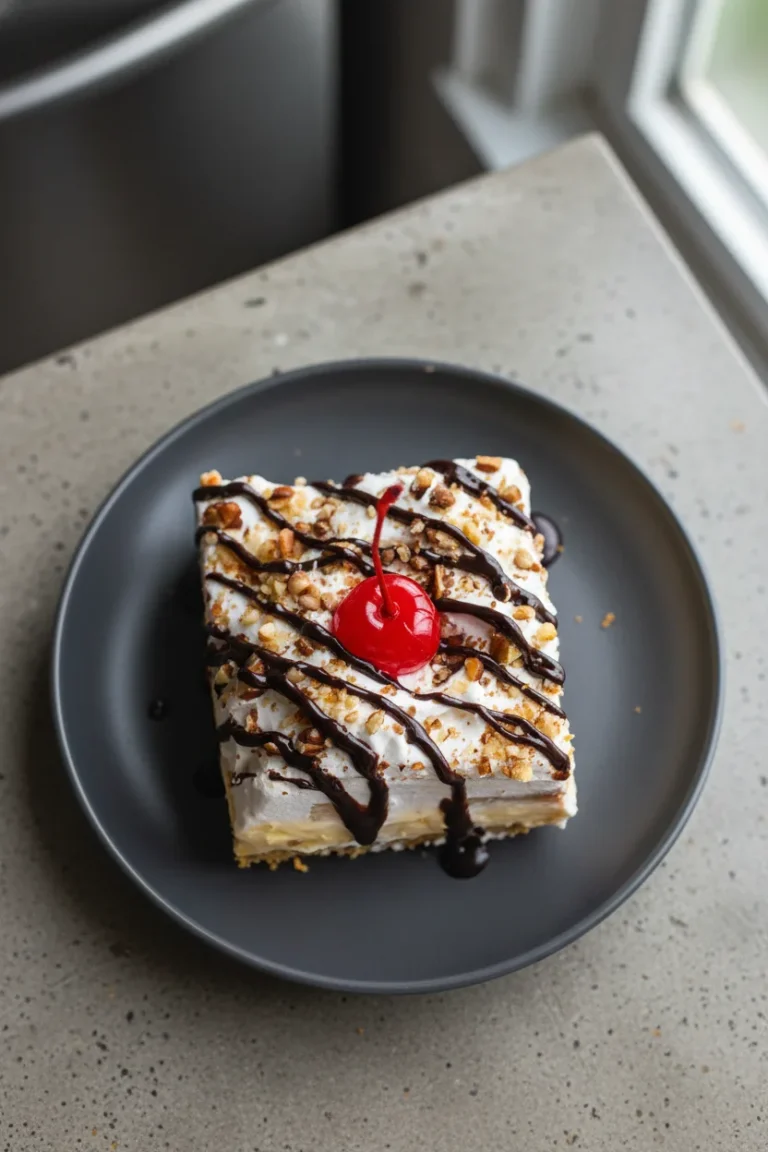
This no-bake Greek yogurt fruit tart is a wholesome and stunning dessert that requires zero oven time, showcasing the best of fresh, vibrant produce. The deliciously nutty crust perfectly complements the protein-packed creamy filling, making it a refreshing treat for any occasion.
Frequently Asked Questions
What fruits can I use for the tart?
You can use any fresh fruit you like! Berries, kiwis, and peaches work wonderfully to complement the yogurt filling.
Can I make this tart ahead of time?
Absolutely! You can prepare the tart a day in advance and keep it refrigerated until serving. Just add the fresh fruits shortly before serving for the best presentation.
Can I substitute Greek yogurt?
Yes, you can use regular yogurt, but Greek yogurt gives a thicker, creamier texture which is ideal for this tart.
How do I store leftovers?
Store any leftover tart in an airtight container in the refrigerator for up to 3 days. Enjoy it cold for a refreshing dessert!
Try making this no-bake Greek yogurt fruit tart tonight and savor the sweet, refreshing flavors. Pin this recipe for later, and be sure to share your experiences in the comments below!